 En
En
 English
  Français
  русский
  中文简体
中文简体  عربى
عربى  Español

For a belt-type bucket elevator, a hot-vulcanized stepped splice is the only joint worth treating as permanent. A splice is the joint that turns two belt ends into one endless loop, and in an elevator every tonne of material lifted passes through that joint several times an hour. Made correctly, the splice will outlast the belt. Made badly, it becomes the most common reason a bucket elevator stops production.
That applies to rubber-belt machines — the TD and TD75 families and comparable elevators running EP fabric or steel cord belting. Chain elevators such as the NE plate-chain and TH ring-chain types have no splice at all, which is one reason they are chosen for hot or highly abrasive duty. If you are working on a rubber belt elevator, the joint is the part of the machine you should plan for first.
Why a bucket elevator splice works harder than a conveyor splice
A splice in a bucket elevator is not the same animal as a splice on a horizontal conveyor, and the numbers explain why.
Take a machine with a belt speed of 1.25 m/s and a centre height of 30 m. The belt loop is roughly 62 m long, so the belt completes about 1.2 laps per minute — the splice passes over the head pulley around 1,700 times a day, over 600,000 times a year. Each pass bends the joint through the same radius the belt itself sees, which is why a splice that is even slightly thicker or stiffer than the belt announces itself as a thump at the head pulley.
There are three other differences. First, an elevator belt is unsupported between the boot and head pulleys, so the splice carries the full working tension plus the weight of the loaded buckets. Second, every bucket bolt hole is a stress raiser punched through the carcass, and those holes sit close to the joint. Third, the joint sees fine product, dust and condensation from the day the elevator starts running, and any opening in the joint lets all three in.
Splice methods compared
There are four realistic options for a bucket elevator belt, plus one that only applies to steel cord belting. The choice usually comes down to whether the joint has to be permanent or merely get the plant running again.
| Splice method | Retained strength | Equipment and time | Where it makes sense | Main risks |
|---|---|---|---|---|
| Hot vulcanized step splice | Roughly 90-100% | Vulcanizing press, platen around 145-155 °C, 3-8 hours including cool-down | The permanent joint on EP fabric and steel cord belts in fertilizer, cement, minerals and grain plants | Needs a dry, sheltered work area and power; unforgiving of inaccurate step cutting and damp carcass |
| Cold vulcanized splice | Roughly 60-85% | Two-part adhesive and hand tools, 4-24 hours cure | Field repairs, outdoor elevators, and sites where hot work permits are not available | Mixing ratio, ambient temperature and dust decide the result; poor in damp or cold weather |
| Mechanical fastener plates | Roughly 50-75% | Bolt or hinge plates, hand tools, under an hour | Emergency restart, short belts, or a stop-gap until a vulcanized joint can be scheduled | Plates are thicker than the belt, they thump over the pulleys, edges catch product and the bolt holes let water into the carcass |
| Finger splice | Roughly 60-80% | Press or adhesive, skilled cutting | Thin, light-duty belts and some steel cord constructions where load must be spread | Cutting tolerances are tight; interlocking fingers must fit precisely or the joint opens at the edges |
| Steel cord hot splice | Roughly 90-100% | Press and hot cure, splice length usually 1,000-1,500 mm | Steel cord belts on tall, high-capacity elevators | Splice length and cord spacing must follow the belt maker's data; not a job to improvise on site |
Making the splice: the sequence that matters
The order of work decides the result more than the tools do. On a bucket elevator there is one extra complication: the belt length you cut to must be the length the belt has under tension, not the length it has lying slack on the boot.
- Isolate and lock out the elevator, block the take-up and release belt tension in line with the elevator manual.
- Measure belt length with the belt tensioned at its normal working figure, and note how much take-up travel remains.
- Bring the two belt ends together on a clean platform and clamp them to a straight edge.
- Square both ends by cutting at 90° to the belt centreline, then mark and cut the steps ply by ply.
- Buff the steps, remove all dust, apply the cement and let it dry to the specified touch-dry state before adding the bonding layers.
- Align the two ends, butt the steps with no gap and no overlap, and check squareness again before the joint is closed.
- Place the splice in the press and cure at the platen temperature, pressure and time specified for that belt.
- Hold pressure while the joint cools to below roughly 60 °C. Releasing a hot splice lets it shrink and open.
- Trim the edges flush, then re-tension, run the elevator in and re-check tracking before returning it to full load.
Acceptance criteria worth writing into the work permit
Most early splice failures trace back to one of a short list of measurable checks. These are the ones worth signing off before the elevator goes back into service.
| Check | Typical requirement | Why it matters |
|---|---|---|
| Squareness of the cut | Within about 1 mm per 100 mm of belt width | A skewed joint steers the belt to one side every time it passes the pulleys |
| Step length | Commonly 150-250 mm per ply on EP belt; use the belt maker's figure | Too short a step concentrates load on a narrow band of carcass and the joint pulls apart |
| Gap or overlap at the steps | Edges butted, no gap and no overlap | Gaps trap product and open up; overlaps thicken the joint and cause thumping |
| Bucket bolt position | Keep bolt holes clear of the splice zone, typically 100 mm or more from each splice edge | A bolt through the splice zone cuts cords and fabric and starts a tear |
| Cure parameters | Platen temperature and pressure exactly as specified for the belt | Under-cured rubber delaminates; over-cured rubber turns brittle and cracks |
| Edge finish | Trimmed flush, no lips or ridges | Raised edges catch pulley lagging and bucket bolts and peel the cover |
| Track after run-in | Belt runs centred on the pulley face with no constant contact on one side | Continuous flange contact wears the belt edge and loads the joint unevenly |
| Remaining take-up travel | At least 1.5-2% of belt length still available after run-in | Belt stretch consumes take-up; when it runs out, the belt slips and the splice takes the shock |
| Bucket bolt torque | Per the elevator maker's figure, re-torqued after the first 100 operating hours | Loose bolts elongate their holes and let buckets shift, which loads the splice in shear |
Reading the symptoms
Once an elevator is running, the splice usually tells you what went wrong before it fails completely.
- Opening at the leading edge only: the step length is too short for the working tension, or the cure was incomplete.
- A rhythmic thump at the head pulley: the joint is thicker or stiffer than the belt, most often mechanical plates or an overlap left in the steps.
- Belt drift that started immediately after a splice: the joint is not square, or one edge has been trimmed unevenly.
- Buckets loosening in one short section of the belt: the spliced zone is elongating and the bolt holes there are wearing.
- Rust streaks or wicking along the joint: water is entering through the splice, common after mechanical fasteners have been used.
When a splice is the wrong answer
Sometimes the right decision is not a better splice but a different elevator. If the product is abrasive, above roughly 80 °C, or the lift is short and heavily loaded, a chain-type elevator removes the rubber belt and its joint from the problem entirely.
Our own elevating and conveying equipment range covers belt, plate-chain and ring-chain machines, so the choice can be made on duty rather than on what happens to be in the warehouse. For most fertilizer and blended-fertilizer duties, the TD type belt bucket elevator is still the standard vertical transport machine, and it is the design that a well-made vulcanized splice is built for.
 TD Bucket Elevator for Fertilizer and Bulk HandlingProduct page presents TD Bucket Elevator for vertical transport, with belt-width, capacity and application details for bulk material handling.View Product →
Where the material is hot, coarse or highly abrasive, the NE plate-chain elevator takes the belt out of the equation and with it the splice, the belt stretch and the tracking adjustments that follow.
 NE Plate-Chain Bucket Elevator for Abrasive Bulk MaterialsFor vertical handling of hot, coarse and abrasive bulk solids, with sealed construction, high capacity and lifting heights suited to cement, fertilizer and mining.View Product →
Inside a compound fertilizer production line, elevators normally appear two or three times — after crushing, after granulation and on the return of oversize material — so a single splice standard applied across the plant pays for itself quickly, particularly on installations that follow the layout described in our notes on compound fertilizer production lines.
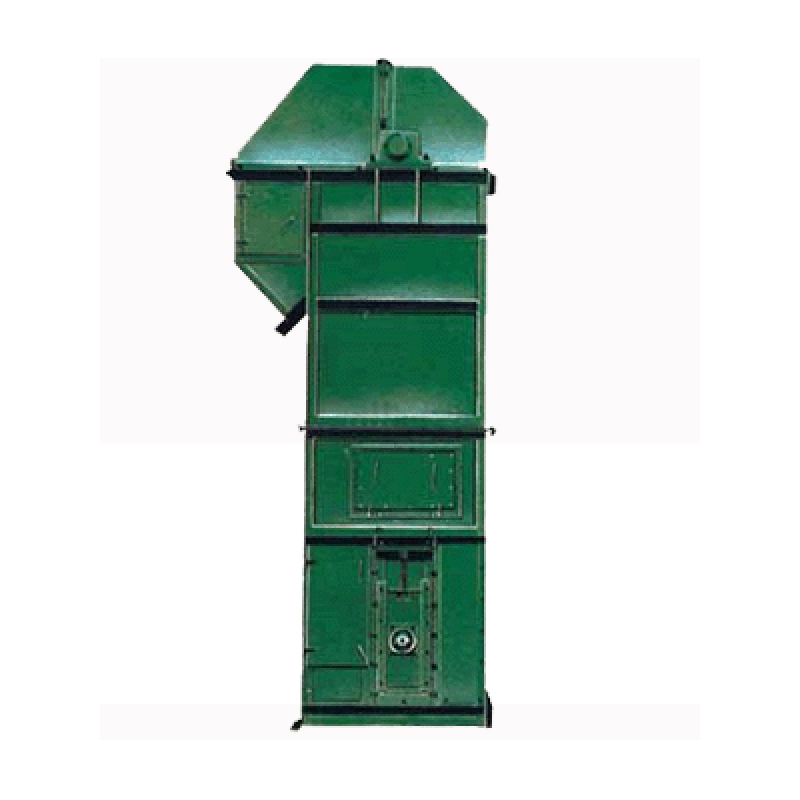 Compound Fertilizer TH Chain Bucket ElevatorA compact chain bucket elevator for compound fertilizer lines, handling less abrasive bulk materials with sealed dust control and capacities to 47.2 m³/h.View Product →
Questions that come up on site
How long should a bucket elevator belt splice last?
A correctly vulcanized splice is normally expected to run for the full life of the belt — often three to five years in a fertilizer or cement plant. If a joint fails within months, the cause is almost always tension, tracking or belt length rather than the splice itself.
Can the splice be made in place on the elevator?
Yes. Bring both belt ends down to the boot or to a platform where they can be laid flat, which means you need roughly 1.5-2 m of free belt to work with. Above the boot is usually easier than on the head platform, because the belt is easier to clamp and the press can be supported properly.
Hot or cold vulcanizing for a bucket elevator?
Hot vulcanizing for anything intended to be permanent. Cold vulcanizing is a legitimate field repair on outdoor elevators or where hot work permits cannot be obtained, but its result depends heavily on ambient temperature, moisture and mixing discipline. Mechanical plates belong in the emergency category only.
What temperature is used to vulcanize a belt splice?
Platen temperatures around 145-155 °C are typical for rubber belt splices, with pressure and cure time taken from the belt manufacturer's data. The step that is most often rushed is cool-down: hold pressure until the joint is below roughly 60 °C.
How do I work out the belt length for the splice?
Measure with the belt tensioned at its normal working load, not slack. Allow for the 1-2% stretch the belt will take during run-in, and confirm afterwards that the take-up still has travel left.
A bucket elevator belt splice is a small piece of work with an outsized influence on plant availability. Choose the method on duty — hot vulcanized for permanent joints, cold vulcanized for repairs, mechanical plates only to get running again — then hold the squareness, step length, cure and cool-down to the belt maker's figures. Do that, and the joint stops being the weak point of the elevator.