 En
En
 English
  Français
  русский
  中文简体
中文简体  عربى
عربى  Español

A bucket elevator alignment procedure is a sequence of checks that places the casing, the head and boot shafts, the pulleys or sprockets, and the belt or chain on a common vertical and horizontal reference plane. Done correctly, it keeps the belt centered, prevents bucket-to-casing contact, and holds bearing temperatures normal. Done poorly, it produces belt drift, worn bucket edges, boot spillage, and failed shaft seals within weeks. Alignment is therefore the first condition of reliable elevating, not a setup luxury. Verify it on every new installation, after belt or chain replacement, and at least once a year.
What a Bucket Elevator Alignment Procedure Covers
Bucket elevator alignment has four parts, and each depends on the one before it: casing plumbness, shaft squareness, belt or chain tracking, and take-up tension balance. Check them in this order, because a casing that leans only 5 mm over a 10 m leg pushes the boot pulley off-center, and the belt will drift to that side under load no matter how well you adjust the take-up.
- Casing plumbness - the vertical leg must be straight at every flange; it is the reference for all other work.
- Shaft squareness - the head and boot shafts must be horizontal and parallel, with the pulley faces at right angles to the casing centerline.
- Belt or chain tracking - the belt must run centrally over the pulleys; a chain must engage the sprockets without creeping sideways.
- Take-up tension balance - both take-up screws must move together so the boot stays level and tension stays even.
Tracking problems are not fixed by over-tensioning one side. They are fixed by restoring geometry first, then setting tension evenly.
Tools and Safety Preparation
Gather the right tools and isolate the drive before measuring. A full procedure takes one trained person two to three hours on a typical 20 m elevator.
- Calibrated plumb line with a pointed bob, or a laser with a plumb function
- Precision machinist's level with 0.02 mm/m graduation
- Tight steel string line or a laser for head-to-boot checks
- Dial indicator with magnetic base for pulley and sprocket runout
- Feeler gauges, steel rule, shim stock, and marking chalk
- Spanners for the take-up screws and anchor bolts
Safety before any measurement: lock out and tag out the drive motor, release tension from the belt or chain before moving any pulley, and keep hands clear of the boot when the take-up moves.
Step-by-Step Bucket Elevator Alignment Procedure
Work from the bottom up and verify each step before moving on. These four steps apply to both belt-type and chain-type elevators; the differences are explained afterward.
Step 1: Plumb-Check the Casing
The casing is the most common source of error, so correct it first. Hang the plumb line or set the laser at the top access door, then measure from the line to a fixed mark on each casing flange at every inspection door down to the boot. If the casing leans, loosen the anchor bolts at the affected support bracket, add shims to bring the flange vertical, tighten, and re-measure.
Step 2: Square the Head and Boot Shafts
Place the machinist's level on the head shaft, then on the boot shaft; both must read level. Next, run a string line or laser along the outside face of both pulleys and confirm that the gaps at the four corners of the two faces are equal. If one shaft is twisted, adjust the pillow block shims in 1 mm steps. Re-check the drive coupling after moving the head shaft, because a misaligned coupling puts a side load back onto the shaft.
Step 3: Track the Belt or Chain
Track the belt only after the shafts are square. Rotate the belt one full revolution by hand, then watch whether it moves toward the head side or the boot side. Correct the run by shifting the head pulley in 1 to 2 mm steps; a crowned pulley centers the belt naturally. If the belt still runs hard to one side, go back to Step 2, because a shaft is not square. For chain elevators, confirm that both sprockets sit in the same vertical plane; the chain should engage without walking on the sprocket hub, and worn sprockets must be replaced before alignment, not after.
Step 4: Set Tension with the Take-Up
Turn both take-up screws the same number of turns so the boot moves straight down. Check belt deflection by lifting the belt with a bar at the boot; typical tension gives 2 to 3 cm of deflection on a 15 m elevator. For chains, tension is correct when the chain does not slap the casing at the turnaround but still has a small free sag on the return side. Mark the take-up position on the casing so future checks are identical.
Recommended Alignment Tolerances
These starting values work well for medium-duty industrial elevators in fertilizer, mineral, and building-materials plants. The dimensional drawing supplied with your specific machine governs, so keep a copy next to the logbook.
| Check point | Method | Acceptable tolerance |
|---|---|---|
| Casing verticality | Calibrated plumb line or laser | 3 mm per 10 m of leg height |
| Head-to-boot shaft squareness | String line across pulley faces | 1.5 mm maximum difference between corners |
| Shaft horizontality | Precision machinist's level | 0.2 mm per meter |
| Pulley or sprocket face runout | Dial indicator on the rim | 1 mm total indicated runout |
| Take-up travel balance | Count turns and measure thread | Equal within half a turn on both sides |
Common Misalignment Symptoms and Their Causes
Alignment faults announce themselves long before a breakdown. Read the signs, and check the listed cause first, in the order shown.
| Symptom | Likely cause | First action |
|---|---|---|
| Belt drifts to one side under load | Head and boot shafts not parallel | Re-check squareness with the string line |
| Bucket tips hit the casing | Casing out of plumb, or tension too high | Plumb-check the leg and reduce take-up tension |
| Chain snakes or whips | Sprocket wear or twisted shaft | Replace sprockets, then re-square the shaft |
| Head or boot bearing runs hot | Shaft not level, or coupling misaligned | Level the shaft and realign the coupling |
| Spillage at the boot inlet | Feed not centered, or belt tracking off | Center the feed chute, then track the belt |
Belt-Type vs. Chain-Type Elevators: Where Alignment Differs
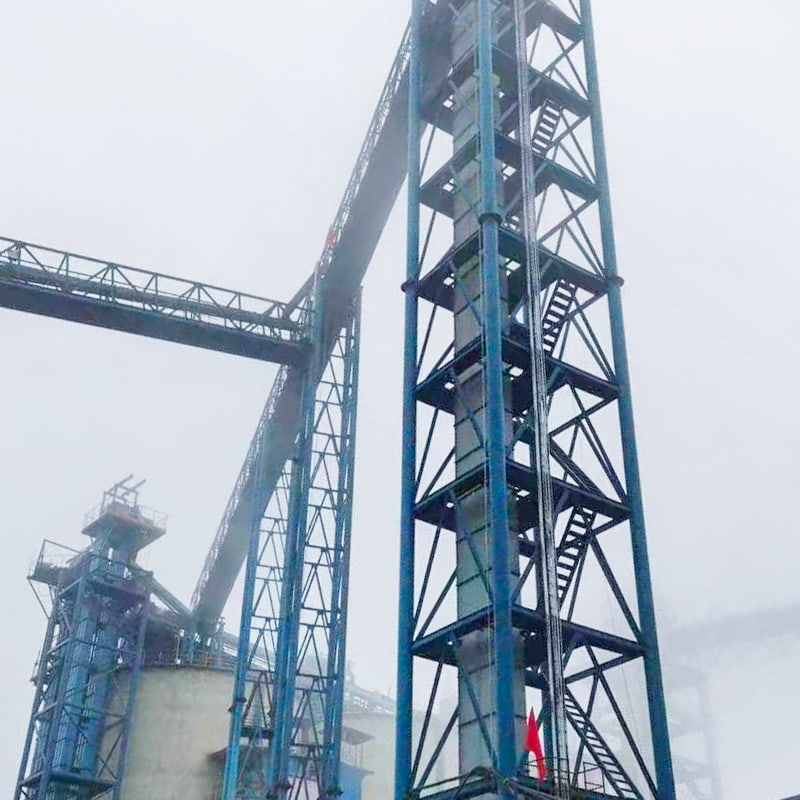
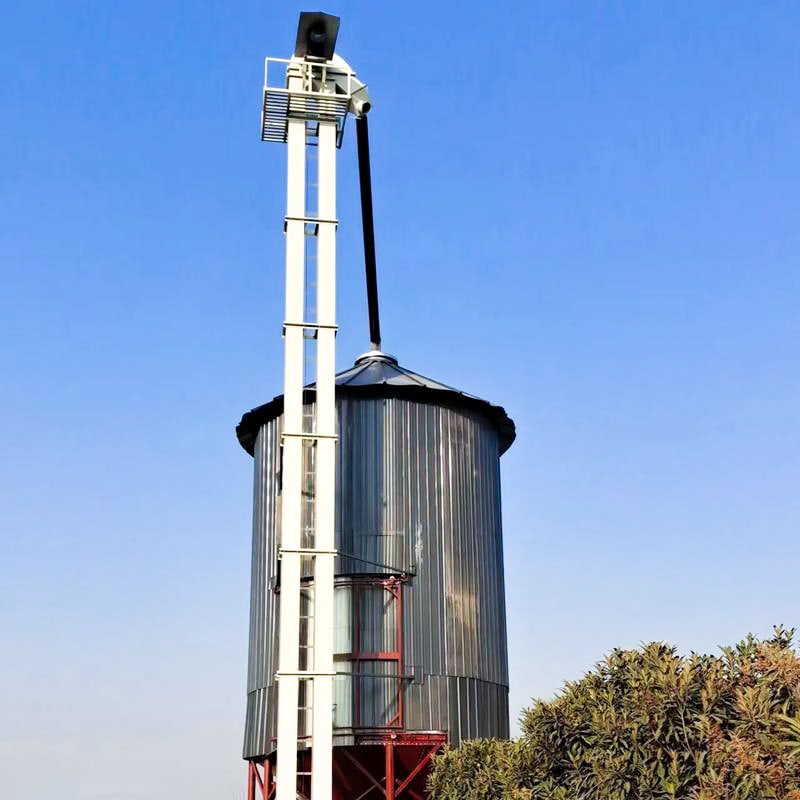
The four-step procedure is universal, but belt and chain units behave differently when alignment drifts. For free-flowing granular materials such as fertilizer pellets, a TD bucket elevator absorbs small tracking errors better than any chain design, so shaft squareness is the dominant check. For heavier lumps, wet filter cakes, or higher capacities, a TH bucket elevator uses a thicker belt and larger buckets; the higher mass increases mistracking force, so casing plumbness becomes the critical check and should be verified with the leg empty.
 Custom TH Bucket Elevator Manufacturers, Factory - Fertilizer/Powder Production Nantong Alisen is a China TH Bucket Elevator manufacturers and TH Bucket Elevator factory. We provide solutions for Fertilizer/Powder Pro...View Product →
 Custom TD Bucket Elevator Manufacturers, Factory - Fertilizer/Powder Production Nantong Alisen is a China TD Bucket Elevator manufacturers and TD Bucket Elevator factory. We provide solutions for Fertilizer/Powder Pro...View Product →
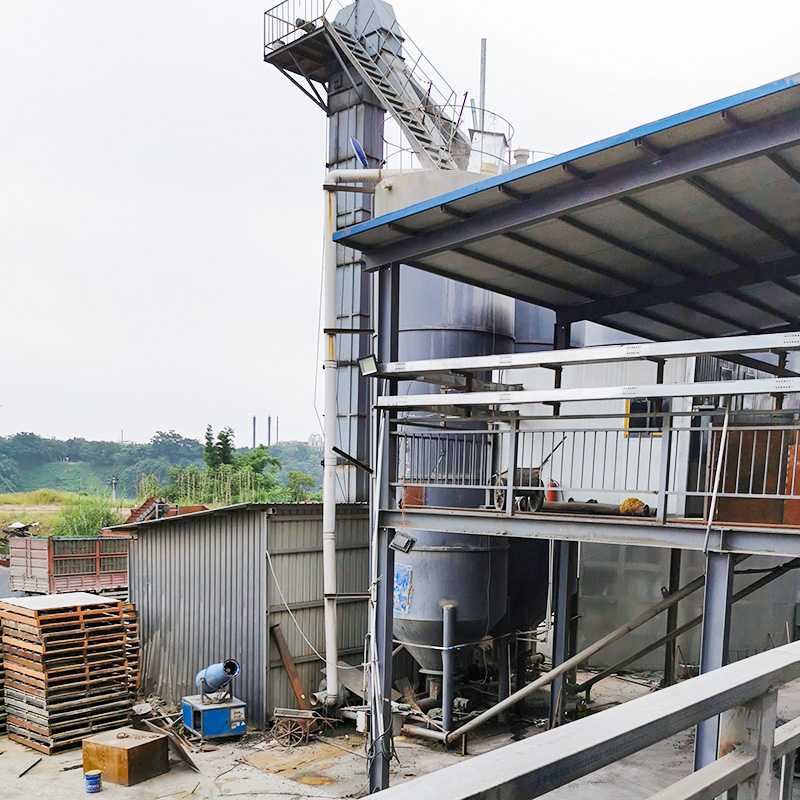
Where heat, abrasion, or heavy loads rule out rubber belts, a chain-driven NE bucket elevator is the standard choice. Chains have no elasticity, so sprocket plane alignment must be near-perfect; a 1 mm shift shows up as chain side wear within days. Chain elevators are easier to keep tracked once set, but they punish foundation settlement more quickly. If you are specifying new equipment, choose a machine whose casing flanges, take-up scale, and inspection doors make these checks practical. Review the alignment-related options in our bucket elevator product range before the foundation is poured, because retrofit alignment is always harder than commissioning alignment.
 Custom NE Bucket Elevator Manufacturers, Factory - Fertilizer/Powder Production Nantong Alisen is a China NE Bucket Elevator manufacturers and NE Bucket Elevator factory. We provide solutions for Fertilizer/Powder Pro...View Product →
Maintenance Habits That Keep Alignment Intact
Alignment drifts with foundation settlement, belt stretch, sprocket wear, and seasonal temperature swings. Build these habits into the operating routine.
- Read the take-up position marks monthly and record them.
- Inspect belt splices and bucket bolts at every shutdown; a loose bucket can nudge the belt off-track.
- Keep casing support brackets tight; a loose bracket lets the leg lean.
- Verify throat plate clearance after any bucket replacement.
- Remove spilled material from the casing and foundation; build-up changes the support geometry.
In compound fertilizer production lines, the elevator runs with hygroscopic dust that can pack onto the head pulley. Confirm that the alignment check includes a pulley face inspection, not just a plumb reading.
Bucket Elevator Alignment FAQ
How often should bucket elevator alignment be checked?
Check full alignment after the first 50 hours of operation on a new or re-spliced belt, do a visual tracking check monthly, and perform a complete plumb-and-square check at least once a year or after any foundation, belt, or sprocket work.
Can you track a bucket elevator belt while it is running?
Yes, but only from a safe access platform, with guards in place, and in small 1 to 2 mm steps on the head adjustment. Structural checks such as plumb lines, level readings, and dial-indicator runout must be done with the drive locked out and the elevator stationary.
Why does the belt run to one side even after alignment?
The cause is almost always a shaft that is not square, uneven take-up tension, or a crowned pulley that has lost its crown to wear. Check these three in that order; an off-center boot feed is a secondary cause, not the primary one.
Does a new belt change the alignment procedure?
Yes. A new belt stretches differently, so pull in the take-up after the first 24 hours of running, then re-check tracking and tension again after the first week before marking the final take-up position.
Record every measurement you take: plumb reading, string-line gaps, take-up turns, and tracking position. A written baseline converts a future emergency fault into a planned five-minute verification, and it is the fastest way to detect foundation settlement, worn sprockets, or a bad splice before they damage buckets. Review the procedure with the operators who start and stop the elevator; the people who hear the first click of bucket-to-casing contact are the ones who prevent the next alignment job.